
weather Next Steps
Now that you have completed your Weather course it’s time to think about how to put your newfound learnings to use. Here is some advice on what you need to do to keep learning about being safe in the mountains.
Learning resources
Use the following resources to help you learn more about weather:
Mountain Weather Forecast - synopsis, 500 mb map, surface maps, and many more features. Explore the different options available on the menu on the right side of the page. Some options are unavailable in the summer months.
SpotWx - Canadian and US models in graphical format. Comparing different models can be helpful.
Meteoblue - many models in animated imagery format, plus many other features. Comparing different models can be helpful.
The Avalanche Canada map has weather stations you can access to see what is happening in real time
Ski area snow reports and webcams are good ways to get a handle on what is happening with the weather. A site and app called Windy has a good webcam layer. This service is very similar to Meteoblue.
The internet has so much information. Both National Weather Service (USA) and the UK Met Office have good educational resources and the UK Met Office has a good YouTube channel too.
The Core Guiding Skills manual published by the Association of Canadian Mountain Guides has excellent information on many mountain travel skills, including weather. Available for purchase, $20 for an e-book and $55 for a paper copy.
Although I haven’t reviewed them recently the following publications from The Mountaineers are sure to be helpful: Mountain Weather Pocket Guide and Mountaineering: Freedom of the Hills. Have a look at the local outdoor shops as there are other books out there as well.
Have a Daily Process
Looking at your weather resources regularly is important. Here is a recap of what we discussed on the course:
Go to the Mountain Weather Forecast and review:
Synopsis and 500 mb map. Determine what the direction of the upper level flow is, the strength of the flow, whether you are in the 546-564 storm track, and whether you are north or south of the dotted 546 line.
During winter months: go to the Day 1 and Day 2 tabs to see what surface features are affecting your region (highs, lows, fronts). In summer you will need to use the GFA for a surface analysis - choose the Pacific region.
Go to SpotWx and/or Meteoblue to get a better idea of specific precipitation amounts, temperatures, and winds forecast for your region
Use the weather stations on the Avalanche Canada map, the satellite/radar layer in Meteoblue or Windy, ski area snow reports, and webcams to get a good idea what is happening in real time
Make Observations
In addition to using the tools above you can also make observations on your own. Take a temperature every morning and measure the amount of new snow on the deck.
In the field verify your personal weather forecast by keeping track of temperature, precipitation, and wind.
Be mindful of changes in the weather that can affect your risk. Increasing temperatures, precipitation and wind can all affect backcountry hazards such as avalanches, rockfall, trees falling, heat and cold injuries.
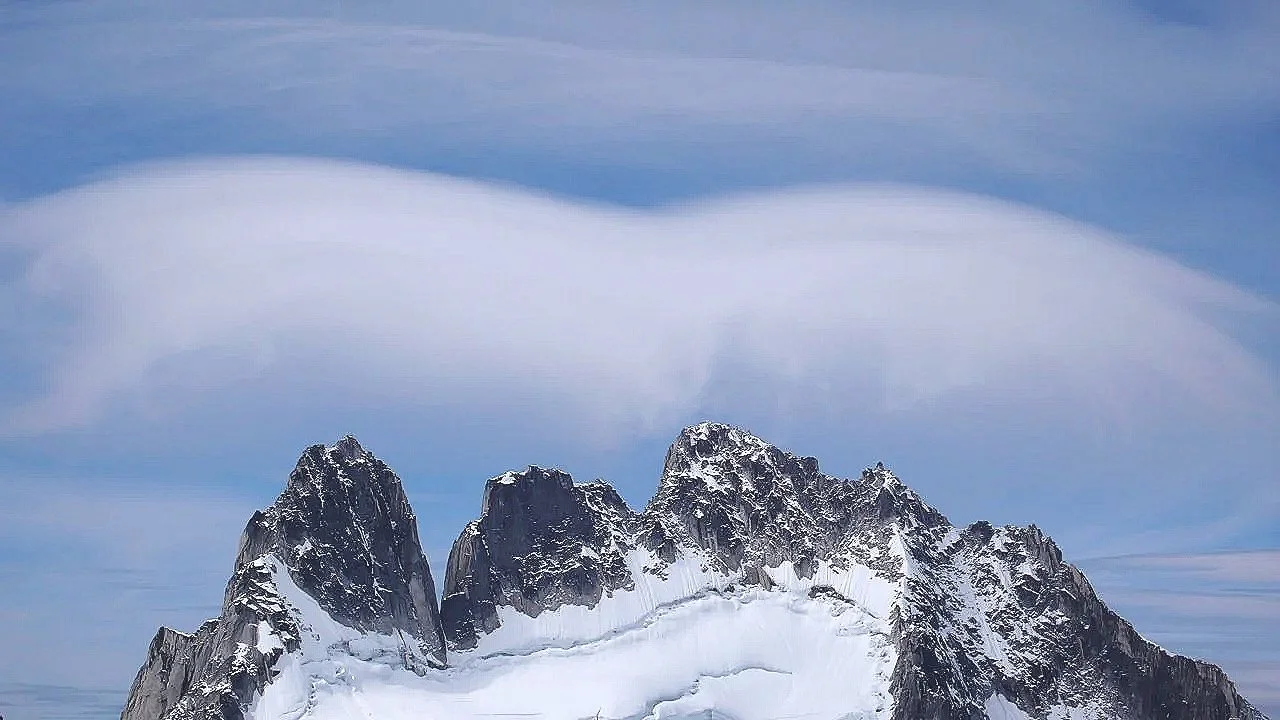
Observe the clouds and be cautious if you see towering clouds that can foretell a cold front or convective activity, lightning is associated with these types of cloud.
I find it helpful to record my observations in a notebook.
Reflect at the end of the day to see if the weather you saw was what you expected. If it wasn’t why do you think that was?
Further related training
The following are courses you should consider taking to help you learn about some other aspects of safe backcountry travel. BanffLife/MountainLife offers these courses:
First aid
Navigation
AST 1 and AST 2
Companion Avalanche Rescue
Crevasse Rescue
Glacier Travel